Setting Up an X/Twitter account for posting with Shinkai Tools
This guide will walk you through the process of setting up your Twitter account for integration with Shinkai Tools, allowing you to post directly from the chat interface or through agents.
Step 1: Create a Twitter Account
First, ensure you have a Twitter account. If you don't already have one, visit Twitter's signup page and follow the registration process.

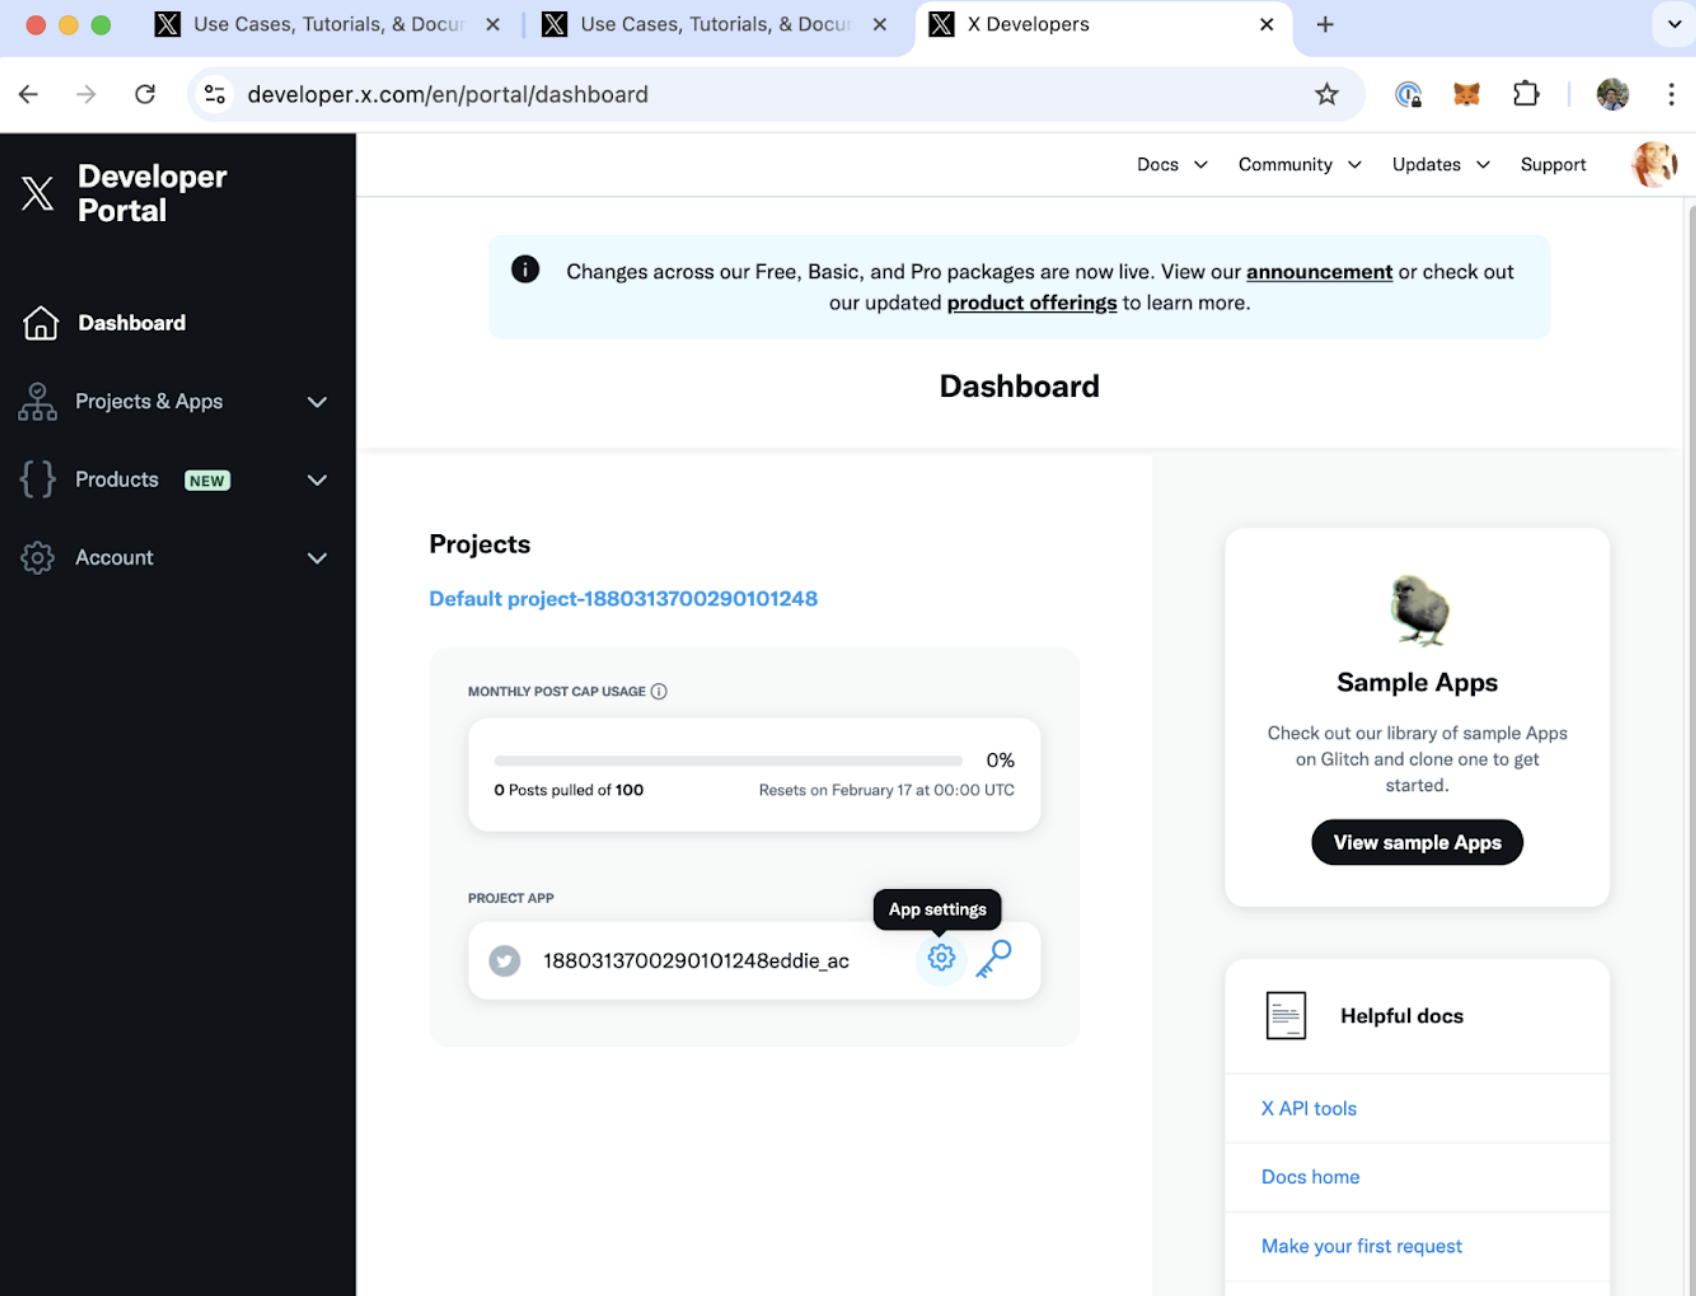
Step 2: Access the Twitter Developer Portal
Navigate to the Twitter Developers site at developer.twitter.com.
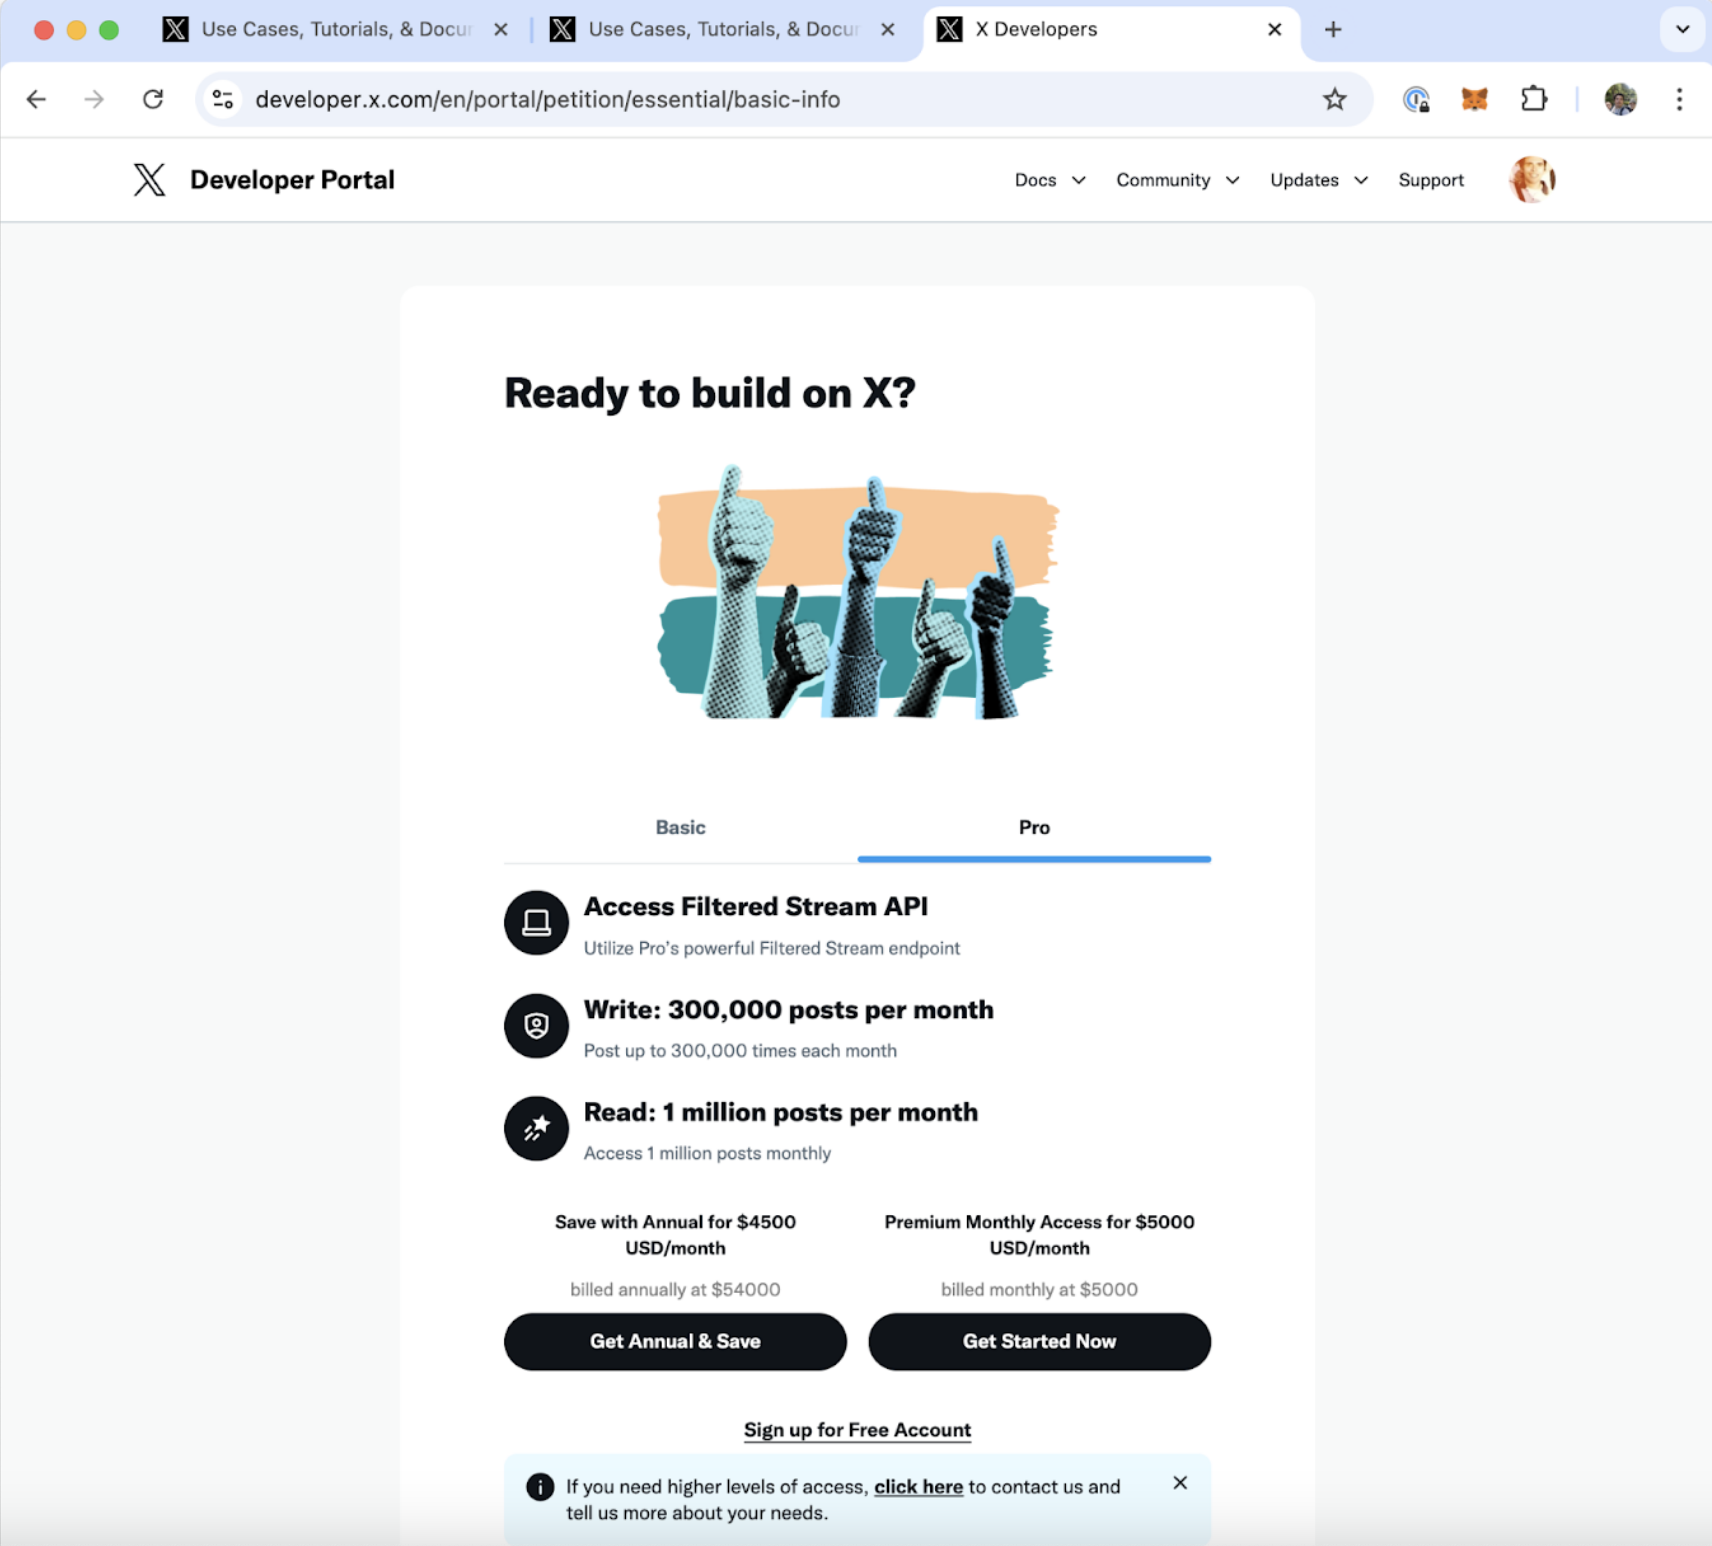
Step 3: Accept the Developer Terms
Read through and accept the Twitter Developer Agreement and Policy. This is required to access the developer features.

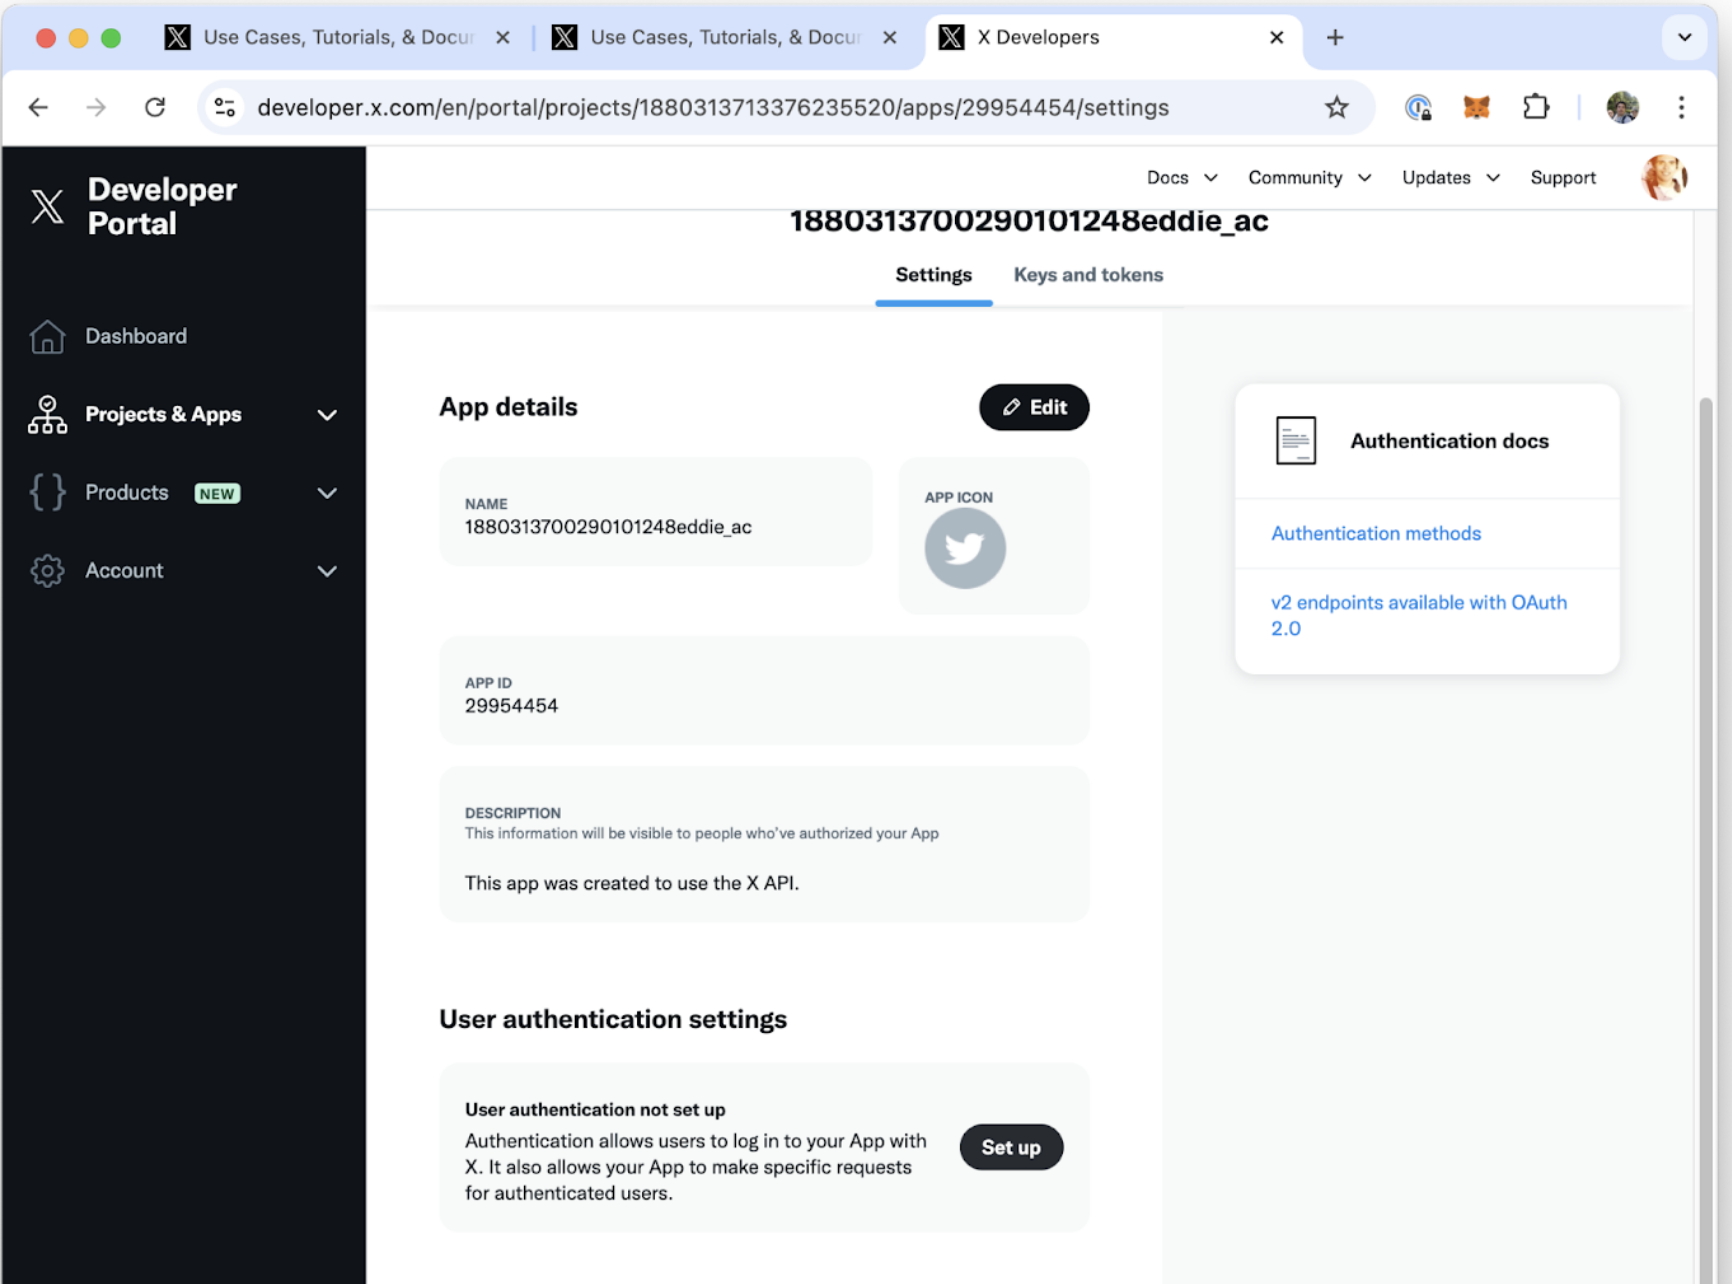
Step 4: Configure User Authentication Settings
In the Developer Portal, locate and navigate to "User Authentication Settings" in your project settings.
Step 5: Configure App Permissions and URLs
Set the app permissions to "Read and Write" and select "Native App" as the app type.
For the configuration, set the Callback URL and Website URL as shown in the example below. These are essential for the authentication flow.
Configuration Settings Table
Use the following settings when configuring your Twitter app:
| Setting | Value |
|---|---|
| App Permissions | Read and Write |
| App Type | Native App |
| Callback URI / Redirect URL | https://secrets.shinkai.com/redirect |
| Website URL | shinkai.com |
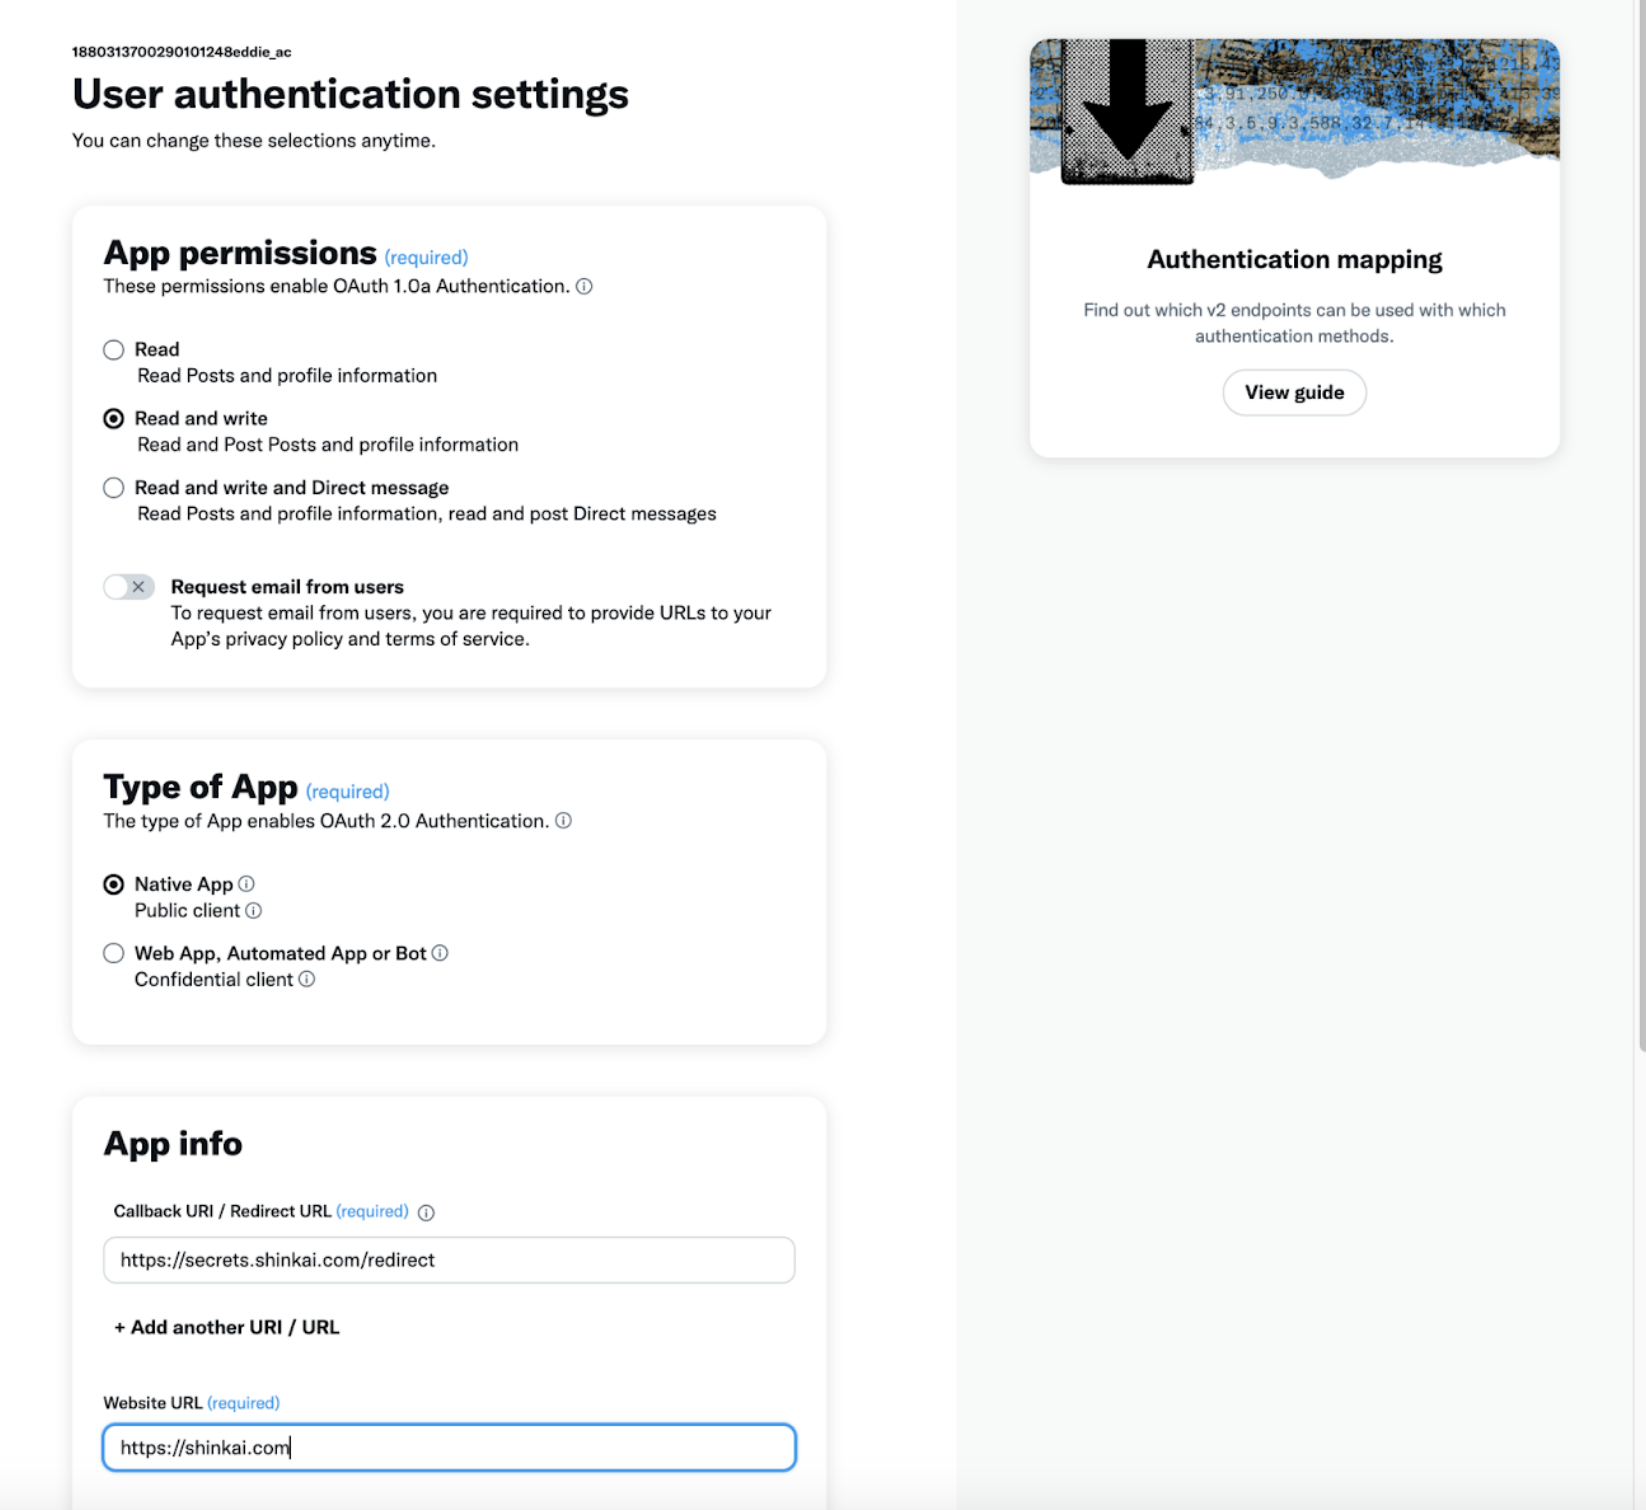
Make sure to enter these values exactly as shown in the table above. The callback URI is particularly important for the authentication flow to work correctly.
Step 6: Obtain API Credentials
After saving your settings, locate and copy both the CLIENT ID and CLIENT SECRET. Keep these secure as they will be used to authenticate your application.
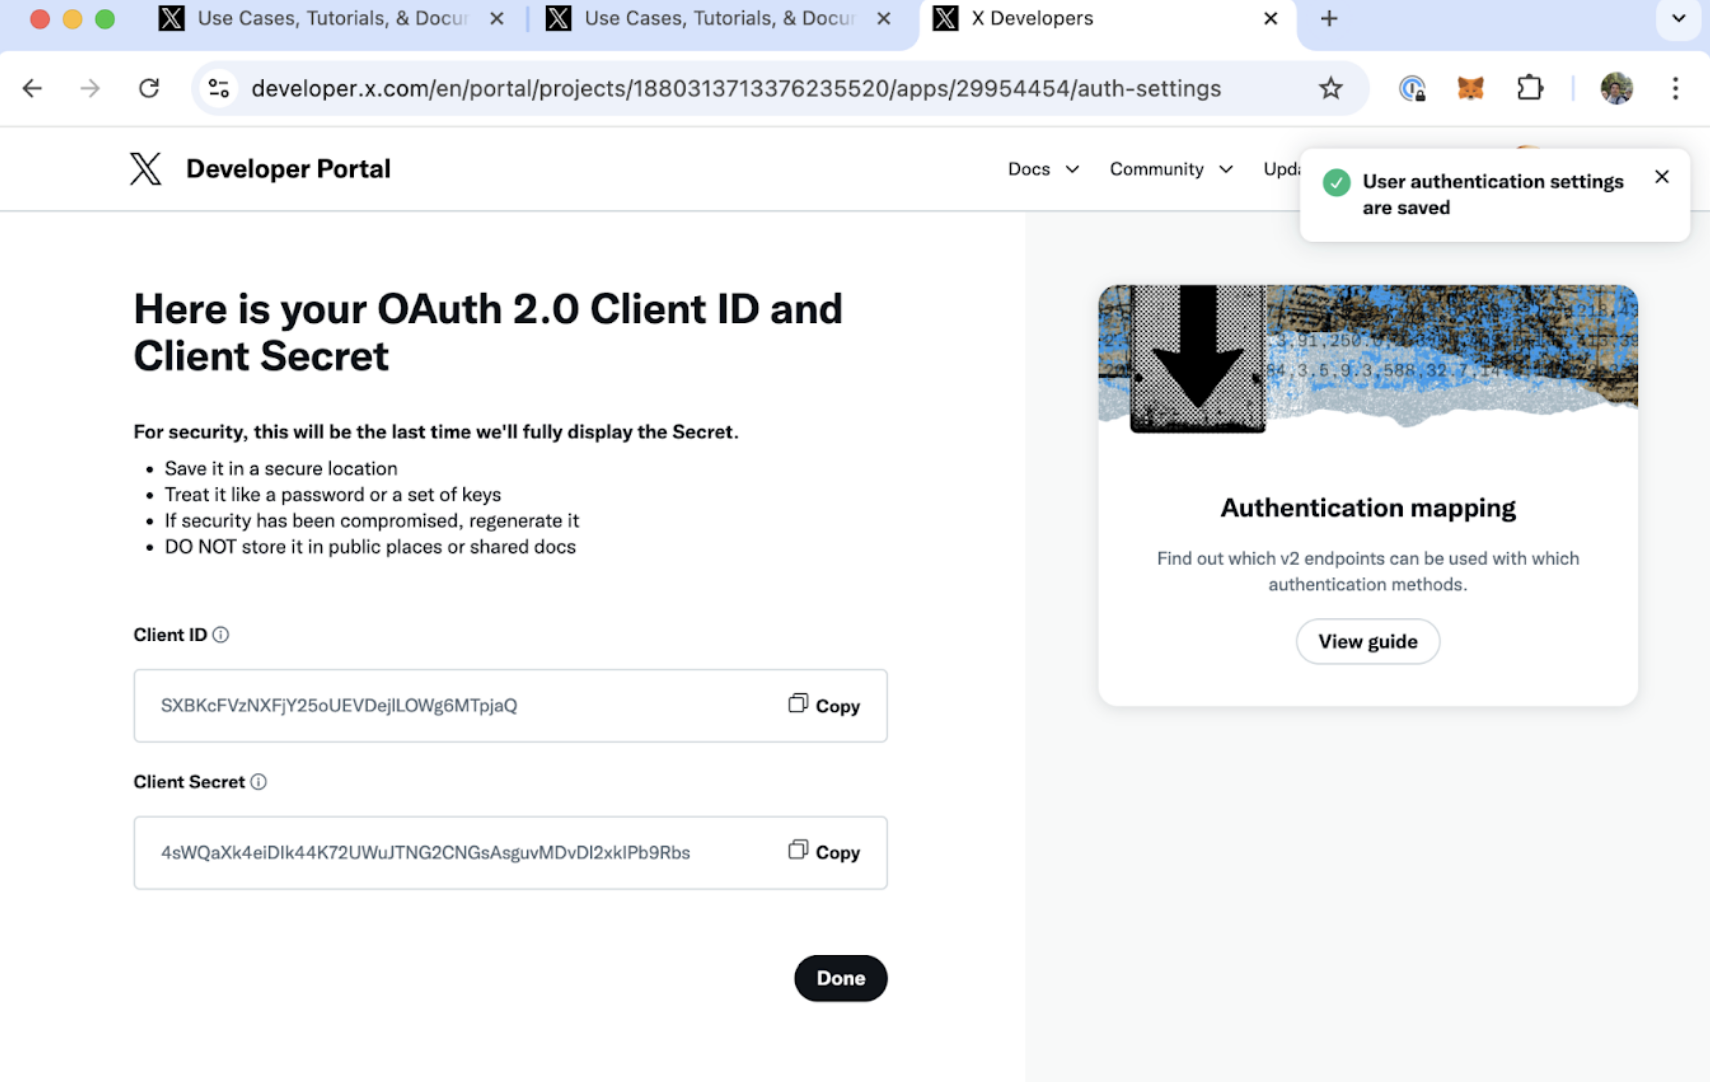
Step 7: Finalize Twitter Setup
Ensure all settings are saved properly. Your Twitter developer account setup is now complete!
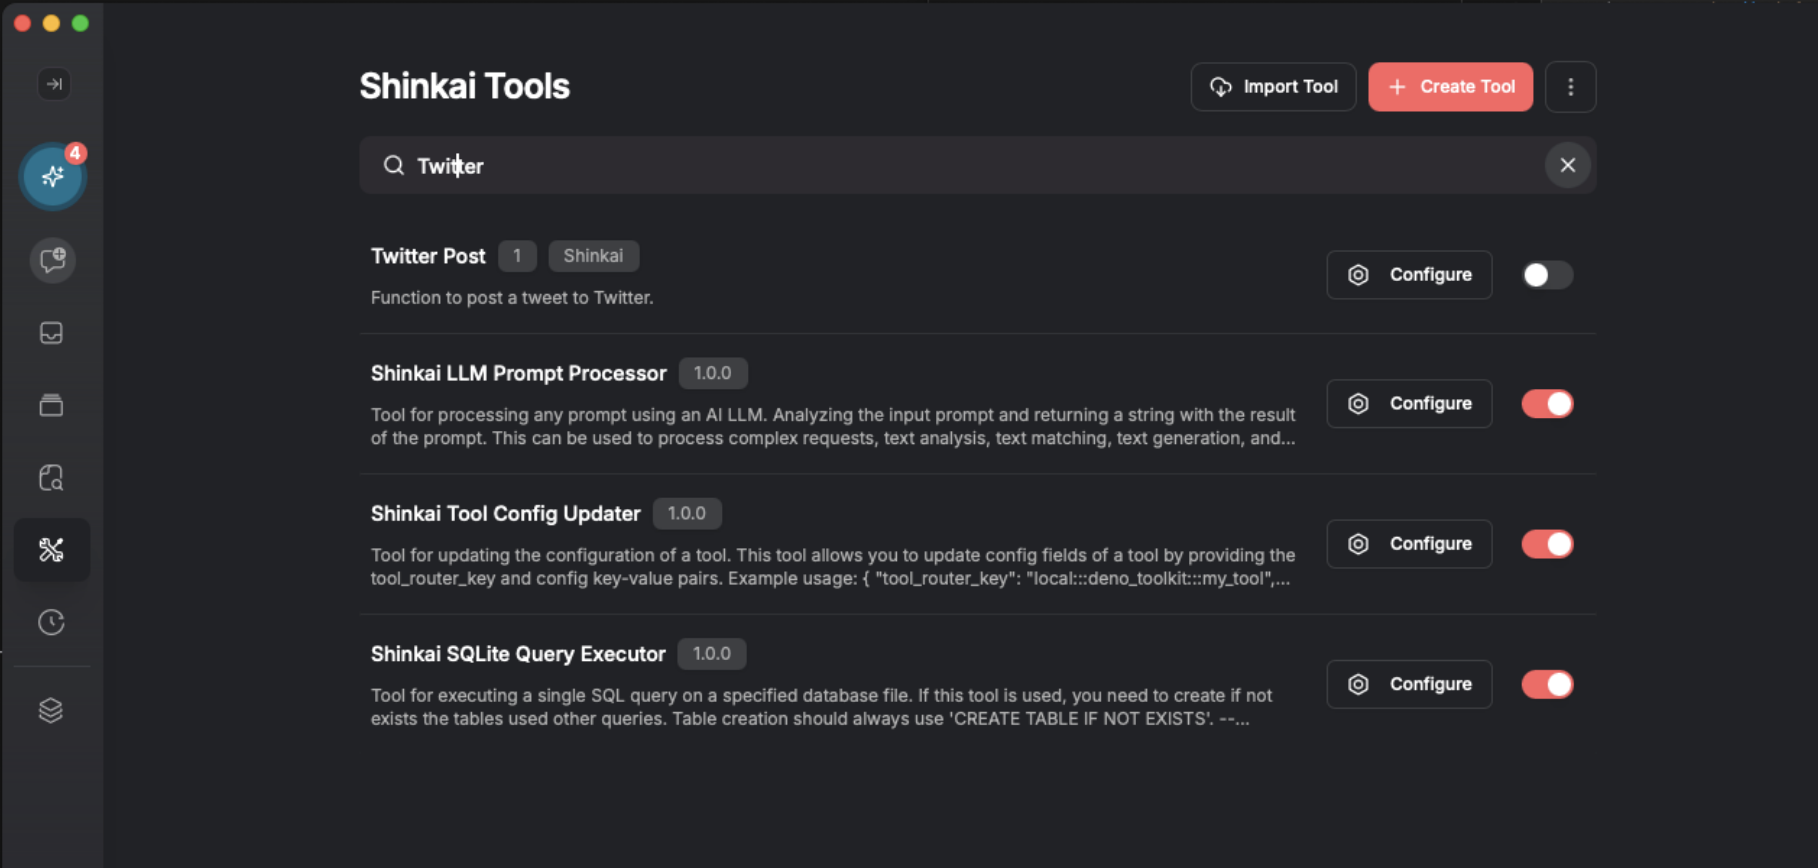
Step 8: Configure Shinkai Tools
Now, navigate to Shinkai Tools. Search for the "Twitter Post" tool and click on its configuration option.
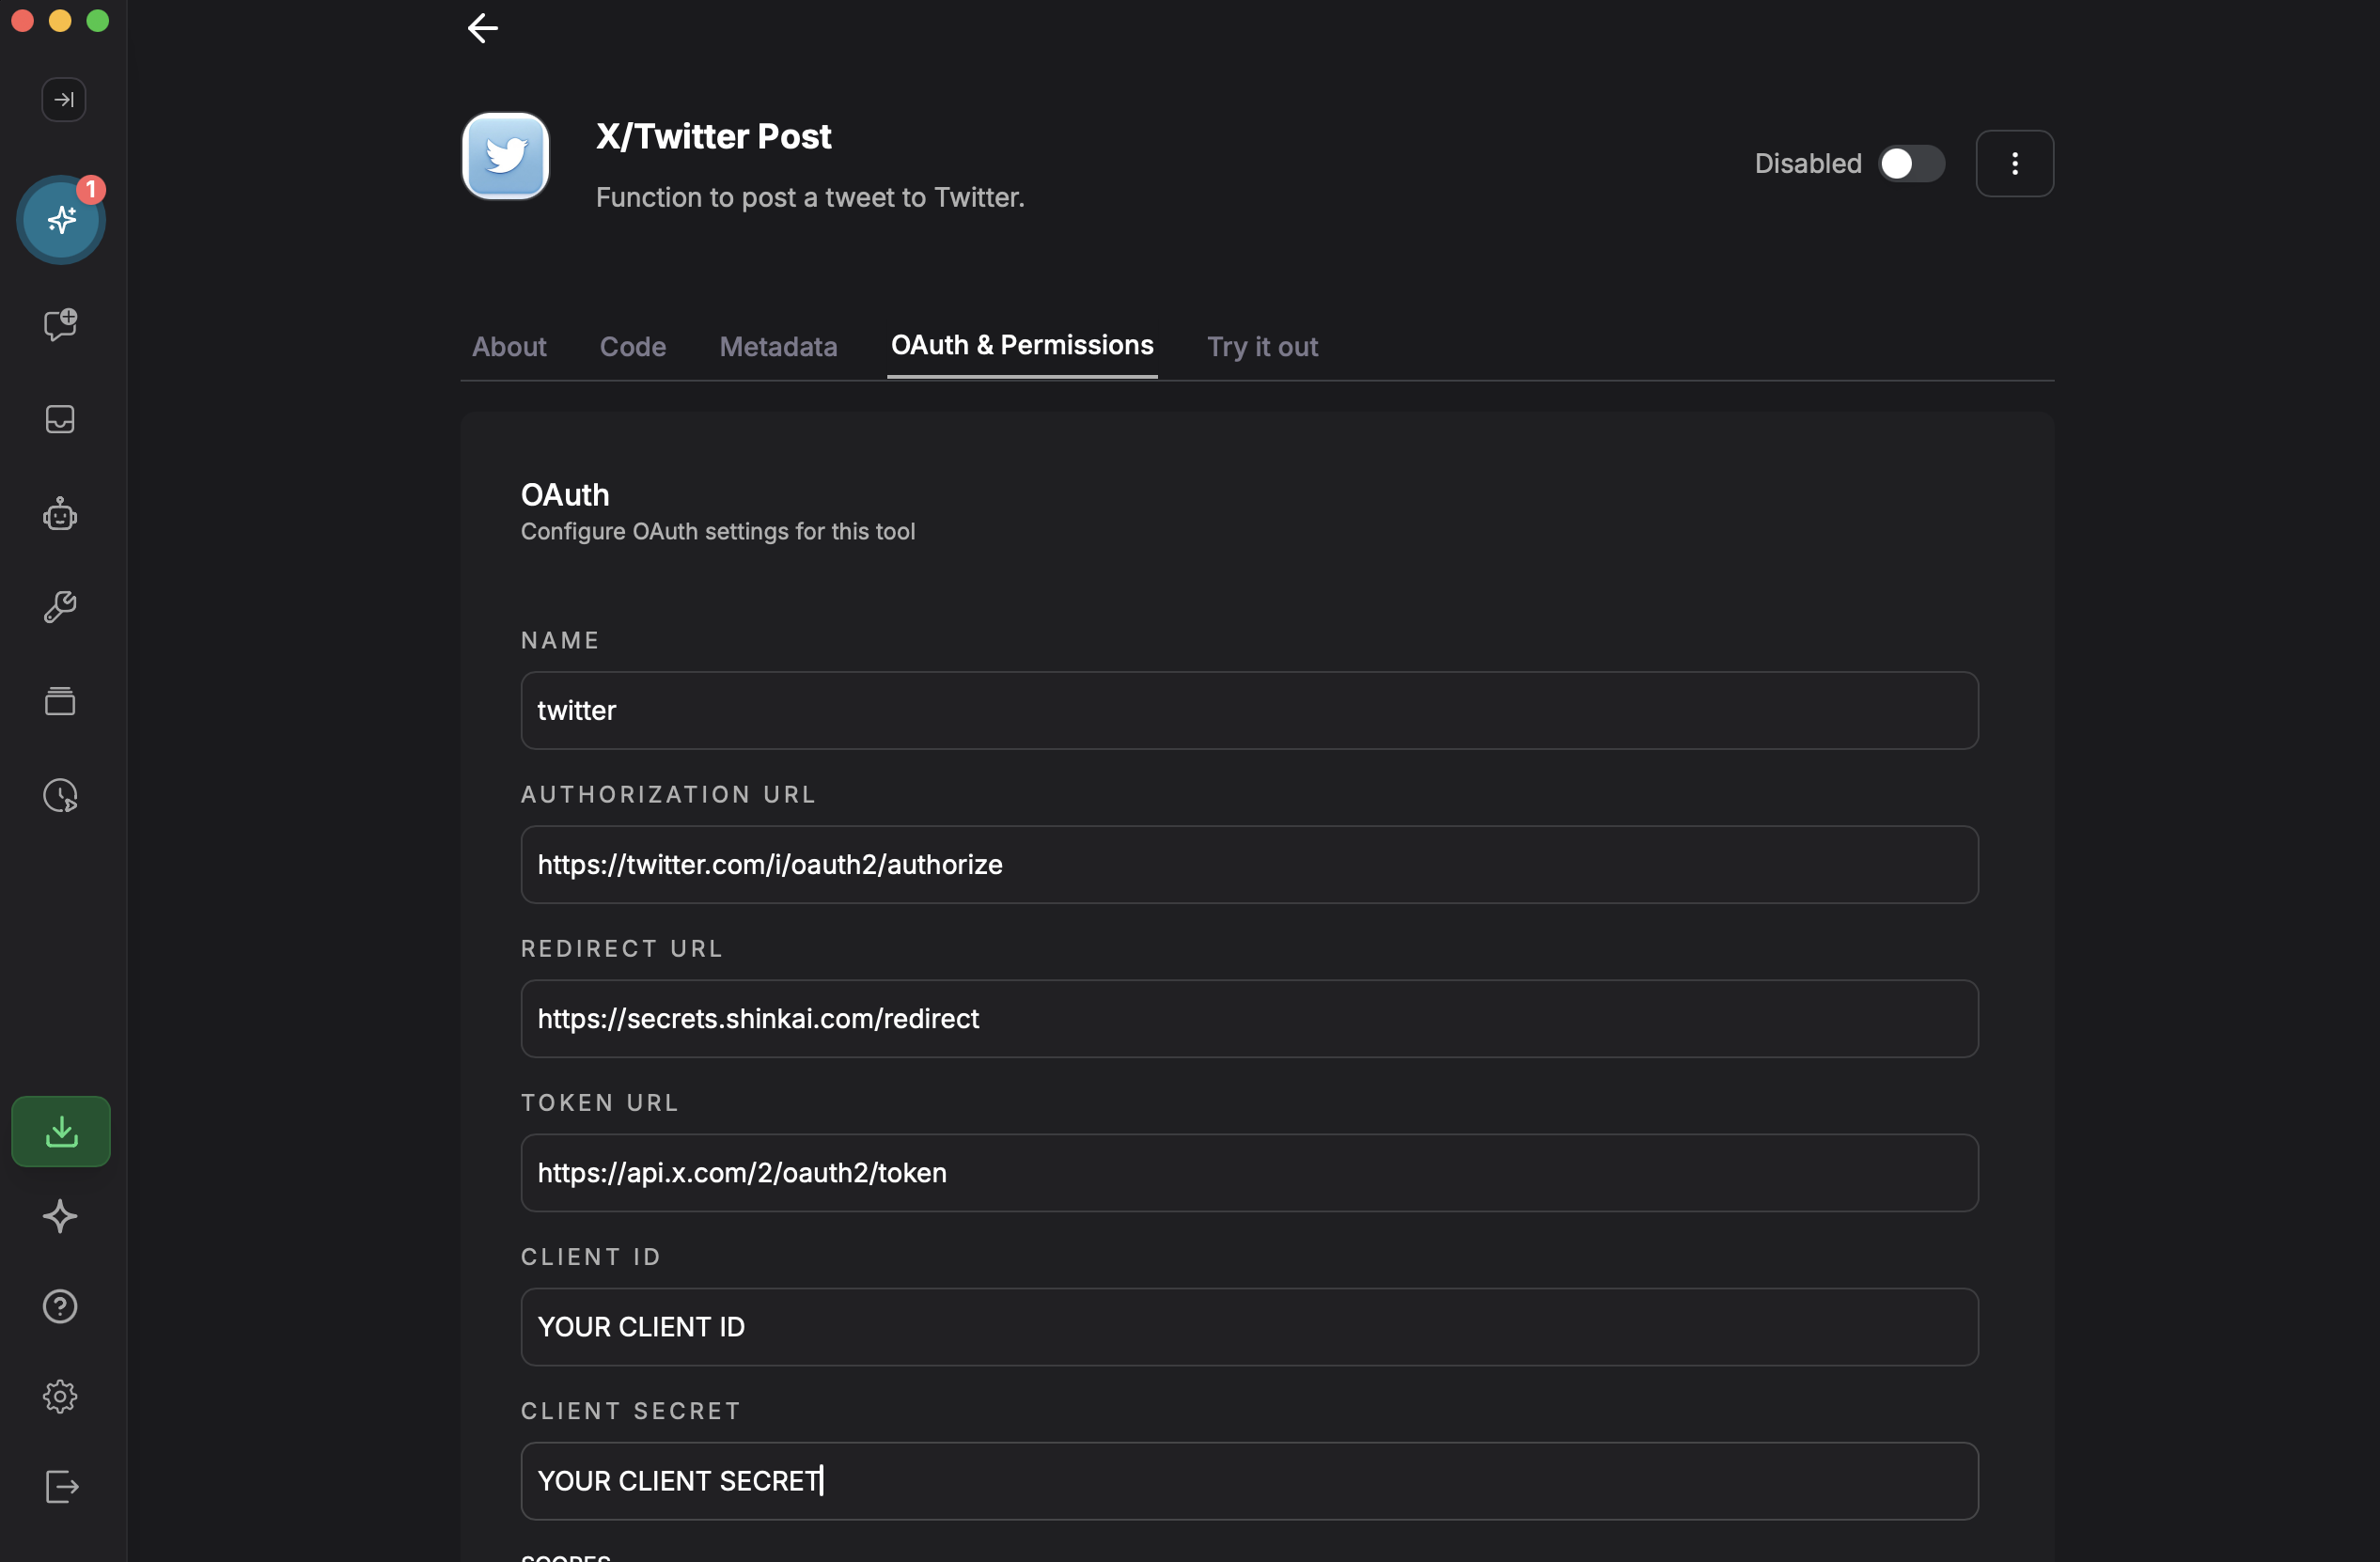
Enter your "Client ID" and "Client Secret" in the appropriate fields inside the Oauth & Permissions tab, then enable the tool.
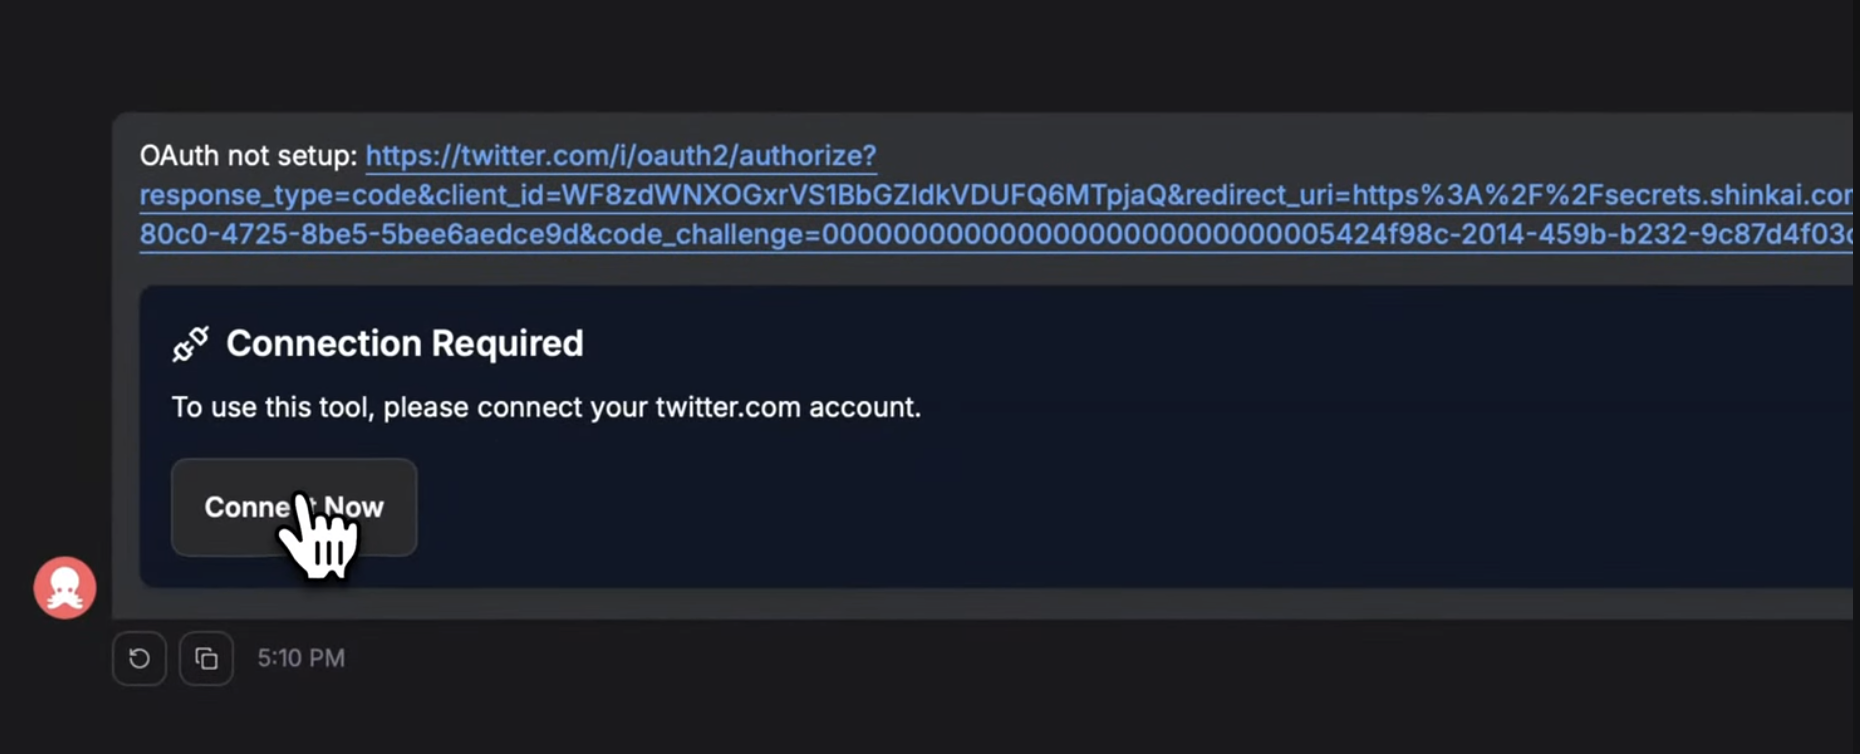
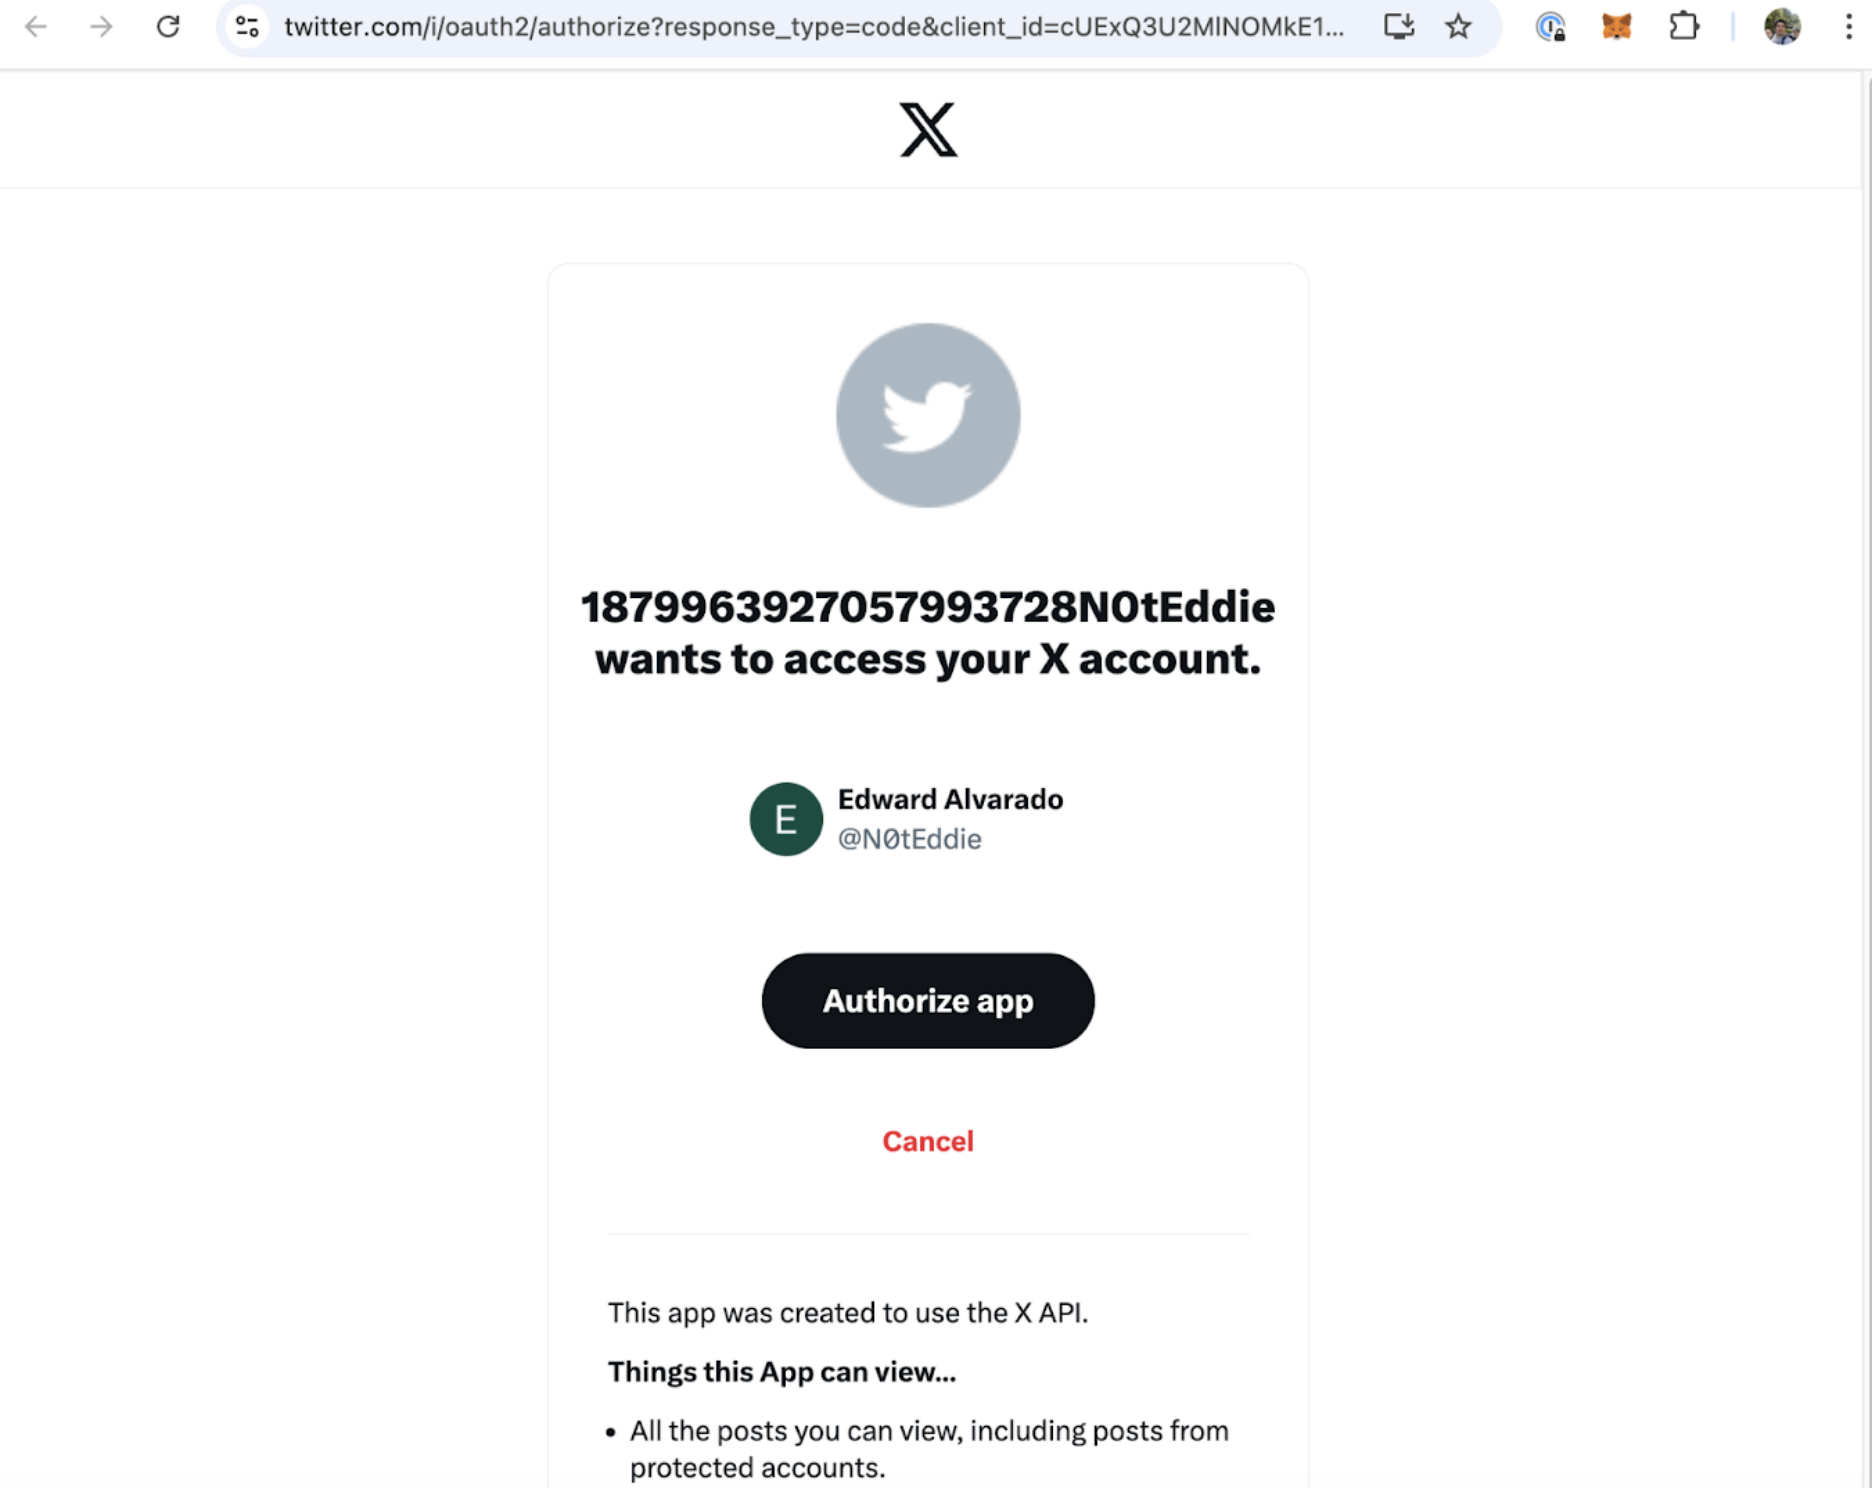
Step 9: Initial Authentication
Open a chat in Shinkai and type "Twitter Post" to activate the tool. You'll be prompted to log in to your Twitter account to authorize the connection. Complete this authentication process.
Step 10: Start Using the Integration
That's it! You've successfully set up the Twitter integration with Shinkai Tools. You can now post to Twitter directly from your chat interface.

Troubleshooting
If you encounter any issues during setup:
- Ensure all URLs are correctly entered
- Verify your Client ID and Client Secret are copied without any extra spaces
- Check that your Twitter Developer account has the appropriate access level
- Make sure you've completed the authentication process
For additional support, please contact Shinkai Tools support team or talk to us over our Discord Server.